In this article we are going to Install And Configure NGINX Web Server On DigitalOcean Droplet. Login to your server and start executing commands in order to configure it ( you will get root information through email once droplet is created). If you don’t have access to either one of these on your computer you can go ahead and use digital oceans web based command console to access it.
DigitalOcean Web Based Command Console
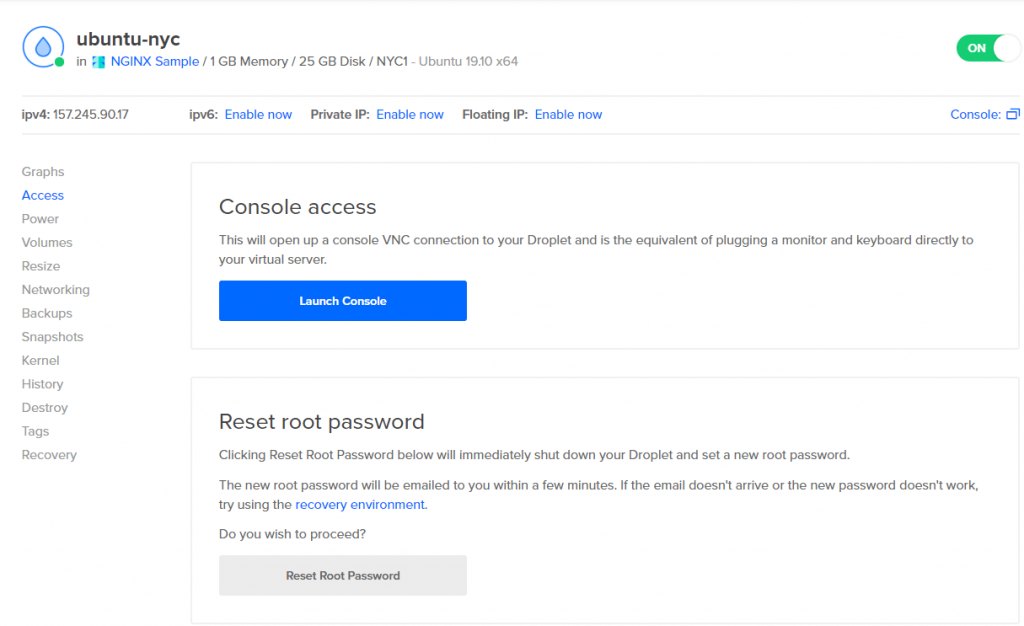
Click on the droplet name (In this case NGINX Sample) on the left navigation menu click Access and then click Launch Console. So here you can execute command lines directly to your server. So it’s a very convenient tool.

In order to log in. Remember you need your username and password. And this was e-mailed to you when we deployed the server. So this is what your username and password will look like
(root: a9d825311a8a2801224754bc78). The user name by default will be root and this long string is your password so you would just type in root press enter and then you would type in your password and you’re going to be logged in.
Also Read: How To Deploy a NGINX Web Server Droplet on DigitalOcean
Access DigitalOcean Through Terminal or Putty Console
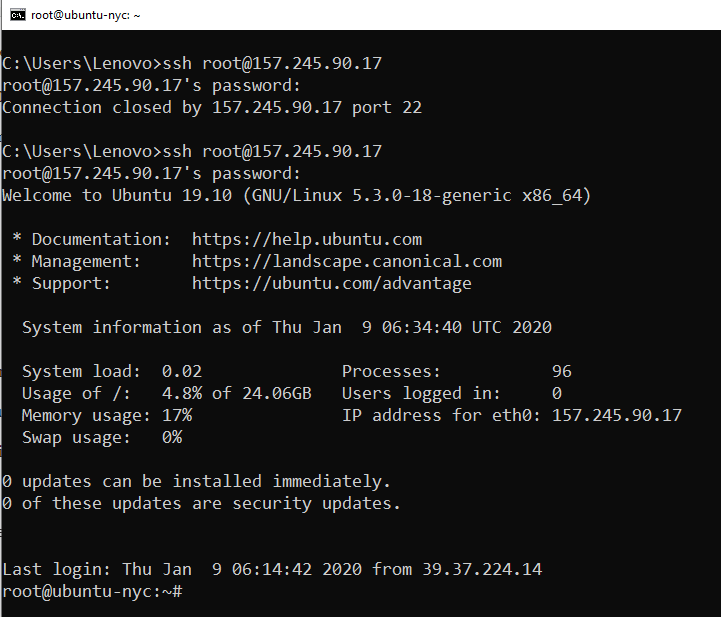
If you are on WINDOWS or MAC, you either need terminal if you have a MAC system or Putty or even cmd if you have a Windows system. Open your terminal and type ” ssh root@yourserverip”.
You’re going to get Yes/No message. Just go ahead and type yes and press enter.

So now immediately it requires that we change our current password into a new password. So it’s asking what is your current password. I’m going to paste that in because we already had it copied and I’m going to enter a new password and you can do the same. Just make sure that it’s something that’s easy to remember but also secure at the same time.
OK perfect.
Configure NGINX Web Server
Before we can install NGINX we’ll need to update our servers Package Index. This will ensure that when we install NGINX all the package repositories are up to date so to do this you first need to type in the following command:
apt update
Now we need to install NGINX . so type in
apt install nginx
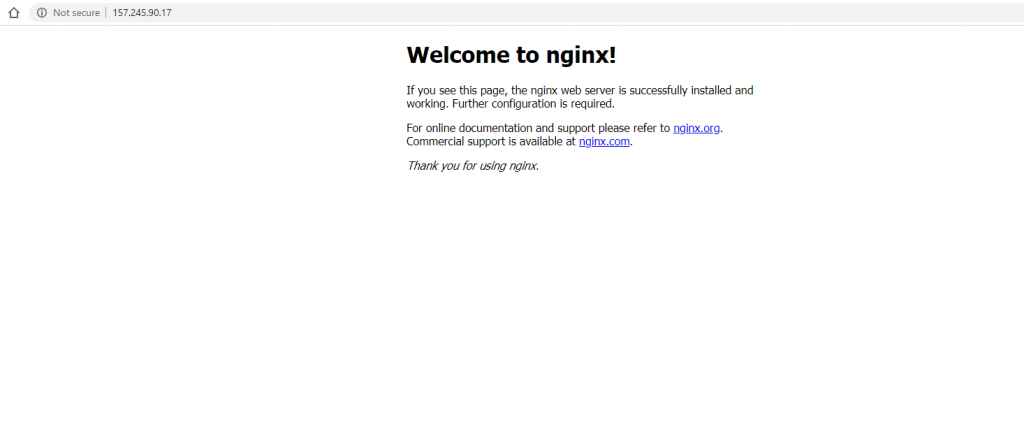
It’s asking if we’re OK with the additional disk space that will be used. Type in Y and press ENTER. You can see the status from the progress bar. So with NGINX now installed we can test to make sure that it’s working by visiting the IP address in our web browser.
So I just have a empty browser here. You’re going to do the same. You’re going to have a different IP address and then you’re going to paste it in here and press ENTER So as soon as you do that you’ll see the welcome to your next page. And this tells you that this server was properly installed.


