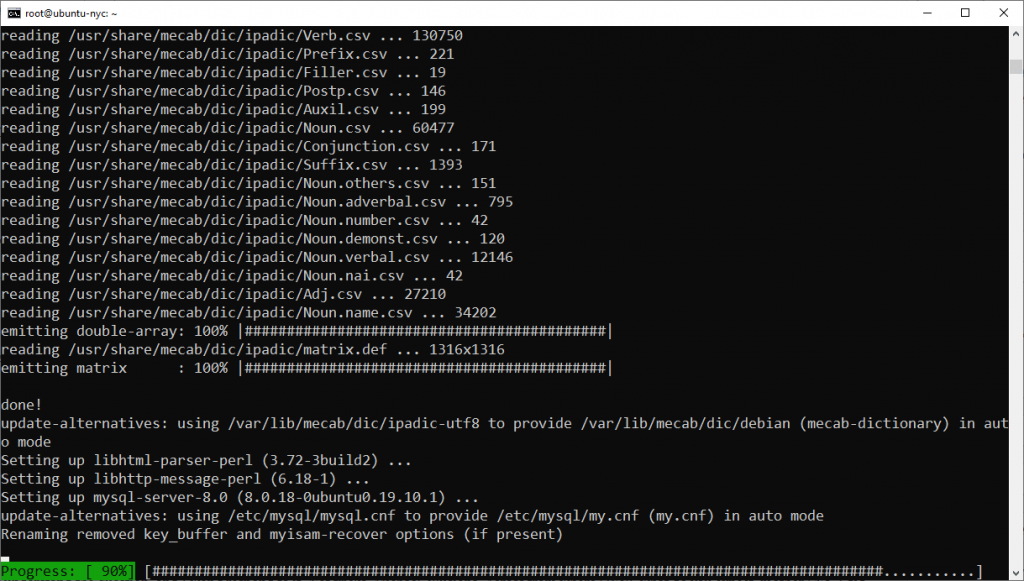
In this article we’ll discuss how to Install And Configure MySQL Database DigitalOcean droplet. Once NGINX installed we can now install MySQL database management system to store and manage data for your website. This is required in order to install WordPress which we’ll be doing later on in other articles. So when we head back to terminal now type following the command to install MySQL:
apt install mysql-server
We’re OK with the additional disk space that we’ll be using so type in y in press enter again.

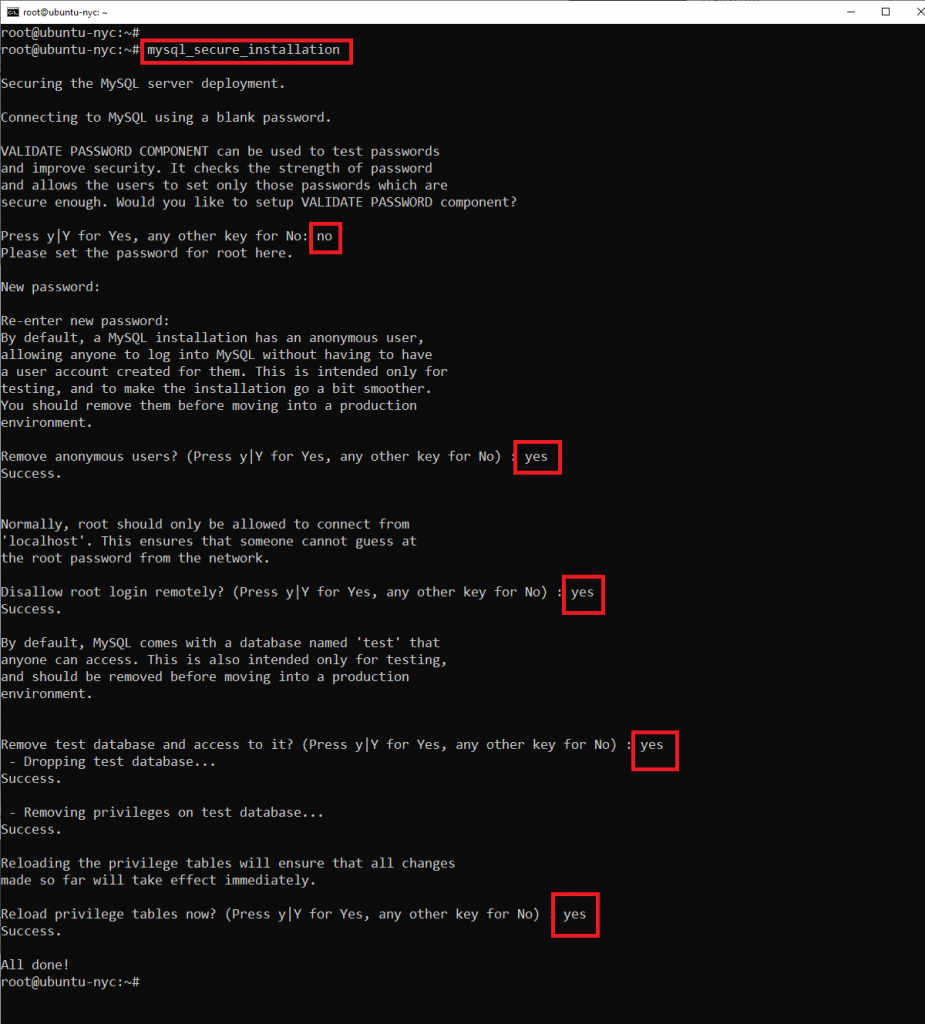
So our database software is now installed but configuration is not complete. We need to secure our installation to ensure that there are no security vulnerabilities. And to do that you’re going to type in the following command and press enter.
mysql_secure_installation
Also Read: Install And Configure NGINX Web Server On DigitalOcean
Steps to Configure MySQL Database DigitalOcean
So when you do that you’re going to be prompted with a series of options.
- The first option is whether you want to activate the validate password plug in what this pass. What this plugin does is it’ll make sure that any password you use matches a certain format a secure format. Although this does provide enhanced security it will interfere with plug ins and other components that we need to install later on. So just type in No. And press ENTER So you have to enter a text password that you want to use. So again make sure it’s something that you can remember and go ahead and type it in gate only to confirm that. So typing the password again and press enter.
- The next question here is do we want to remove anonymous users. So by default my rescue will allows an anonymous user meaning anyone can log into my school without having to have a user account. So that can again present security vulnerabilities.So we do want to remove anonymous users. I’m going to type in Y and press enter.
- The next question is do we want to disallow route log in remotely. You only want to give root access to your local host. You don’t want people from computers outside of your system being able to log in as a root user and make changes to your account it’s very dangerous unless you really know what you’re doing. And so we we will go ahead and disallow route log in remotely.So Type in Y and press enter.
- Next it comes with a test database that we don’t need. And so we can go ahead and remove that test database.So just type in Y and press enter in order to implement these changes we’ll need to reload the privilege tables.So Type in Y and press ENTER perfect so we’re all done.

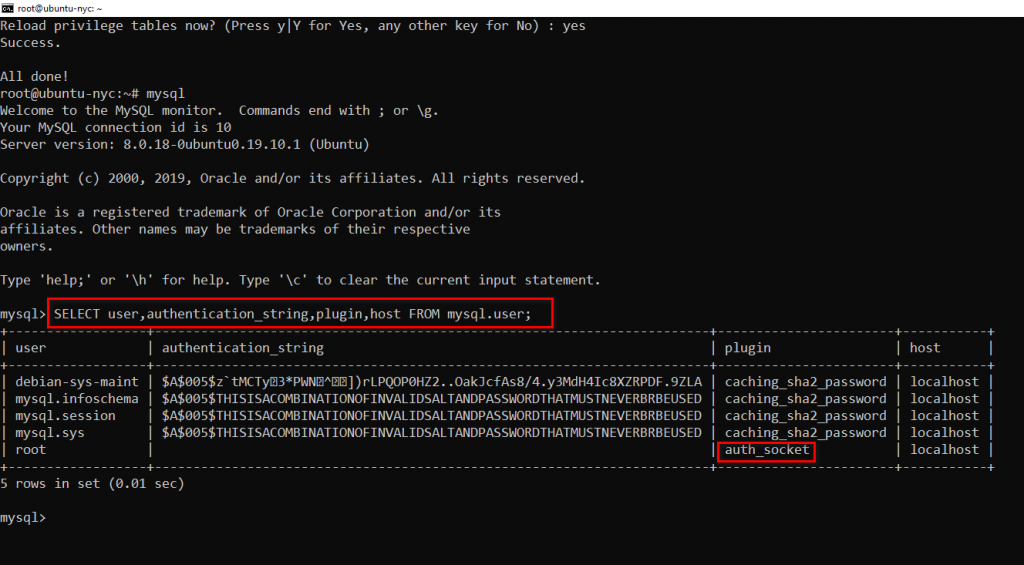
In Ubuntu systems that are running the latest version of MySQL, the root MySQL user is configured to authenticate with auth-socket plugin by default rather than a text based password since this authentication method will interfere with components will be installing later.
Lets us connect with a regular text based password. So to do this will first need to connect to my as well. Type following command and hit enter.
mysql
Now let’s go ahead and check the current authentication method that’s been used with our user accounts. So we’re going to go ahead and type in the following command:
SELECT user,authentication_string,plugin,host FROM mysql.user;

So from this table we can see that the user authenticates with the auth_socket plugin. So that’s the root user on the left. And here is the plug in that’s used to authenticate and that’s what we need to change now to change this. You’re going to use the following command.
ALTER USER ‘root’@’localhost’ IDENTIFIED WITH mysql_native_password BY ‘mypassword’;
OK perfect. The next command will need to run is the flush privileges command and this command will put our changes into effect by reloading the grant tables. Type following command and hit Enter.
FLUSH PRIVILEGES;
SELECT user,authentication_string,plugin,host FROM mysql.user;

You can see that the plug in has changed from auth-socket to mysql_native_password. Now we can exit by typing exit command.


